How to Create a Certified Wildlife Habitat in Your Backyard

Introduction

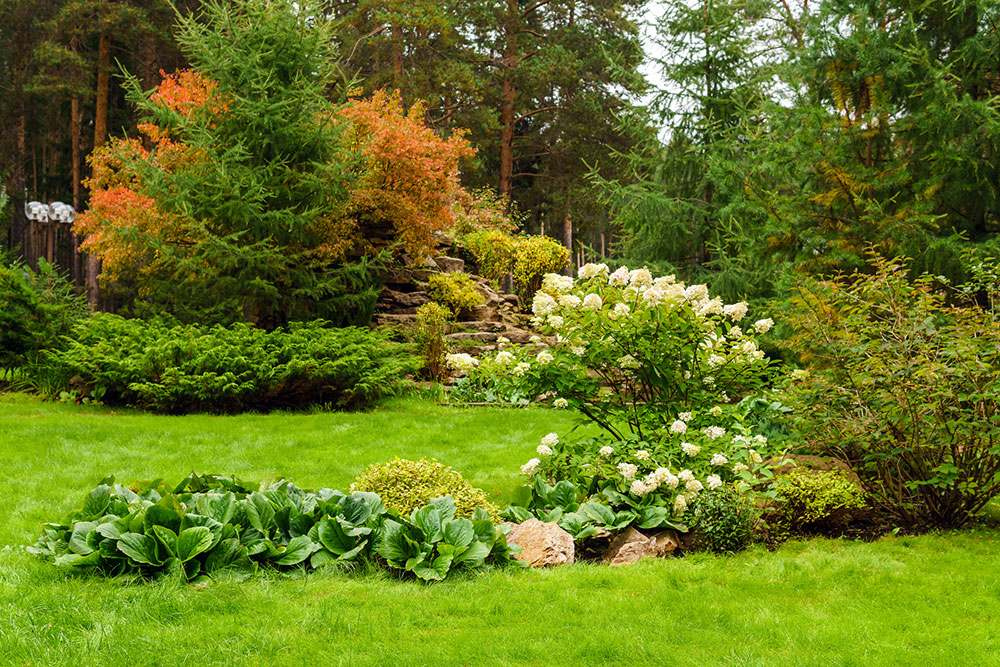
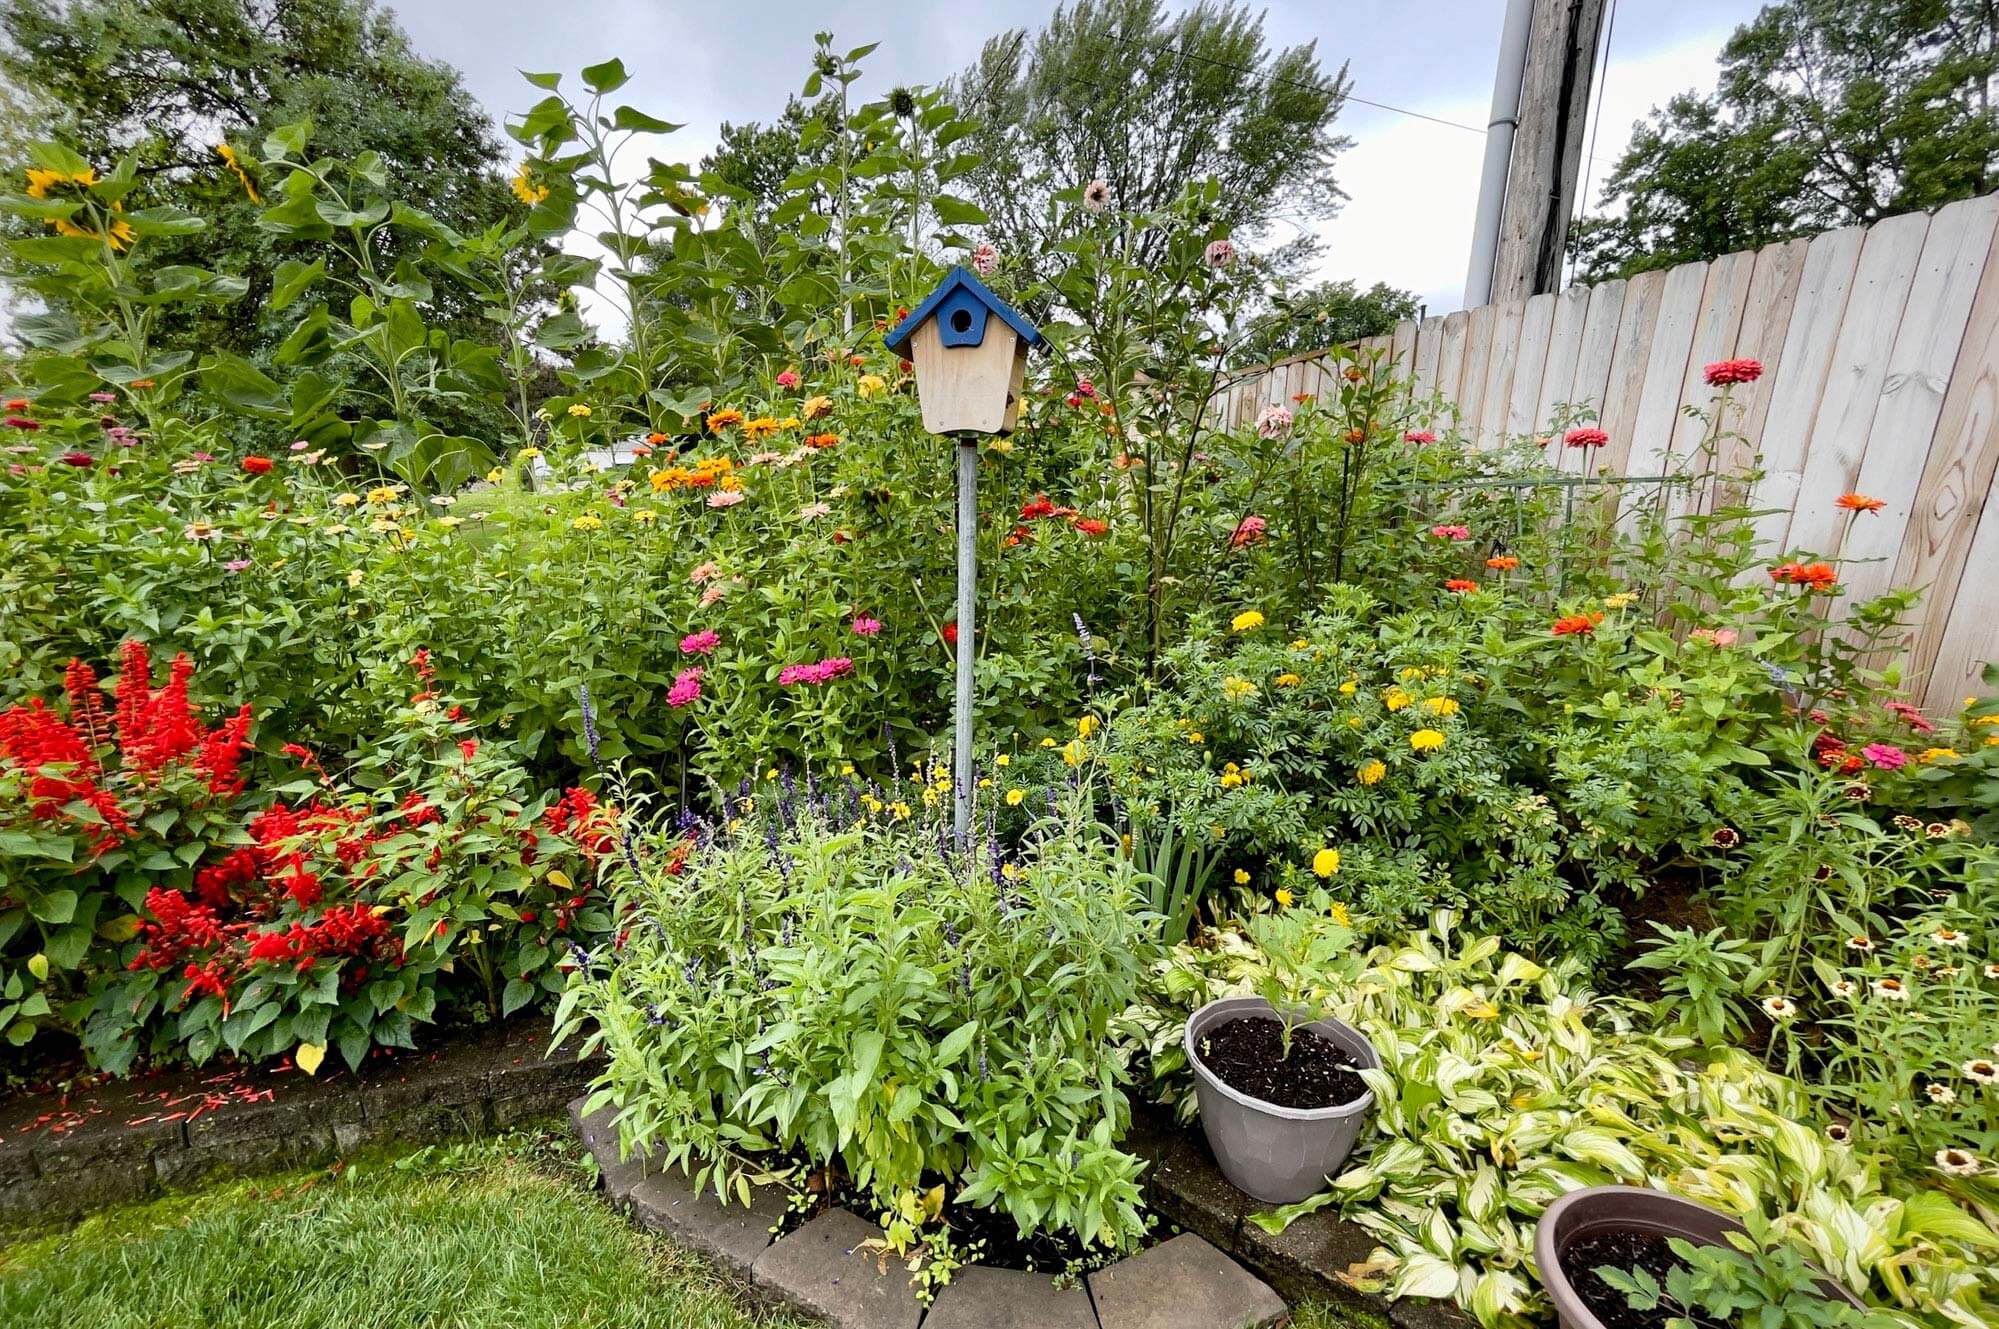
Transforming your backyard into a wildlife-friendly space can significantly enhance both the beauty and ecological value of your home. However, creating a sanctuary that caters to local wildlife while still meeting your personal preferences and budget can sometimes be a challenge. In this backyard wildlife habitat guide we walk you through the essential elements of a certified habitat, explore a variety of practical approaches, and offer creative, eco-friendly ideas to inspire you.

Pro Tip:

Plant native species in clusters of three, spaced 2-3 feet apart. Wildlife prefers dense clusters over single plants, and triangular groupings create natural-looking drifts while providing better shelter and more reliable food sources.

What Is a Backyard Wildlife Habitat?

A backyard wildlife habitat turns your yard into a sanctuary that supports local wildlife. It provides food, water, shelter, and nesting spaces for birds, butterflies, beneficial insects, and other wildlife. By replacing traditional lawns with native plants and natural elements we can create a sustainable environment where wildlife can thrive.

What Is Required for a Certified Wildlife Habitat?

To get certified by the National Wildlife Federation your yard needs the following four key elements: food, water, shelter, and nesting sites.

  • Native plants provide the right food sources
  • Birdbaths or ponds serve as water sources
  • Dense shrubs or brush piles offer shelter
  • Nesting boxes or mature trees support safe nesting sites

Sustainable gardening practices, such as avoiding pesticides, are also important.

Turning Your Bay Area Backyard Into a Certified Wildlife Habitat Step by Step

Creating a natural habitat is simpler than you might think. Start by looking at what your backyard already offers and then gradually add what’s missing. The key is to be a bit less tidy– so leave some leaves on the ground, let your native plants go to seed, and avoid using synthetic pesticides or fertilizers. You will be amazed at how quickly wildlife reclaims your backyard once you provide these basic elements.

At the same time, fire safety is crucial in our region, maintaining proper plant spacing—especially near structures—and choosing fire-resistant native plants is essential. Thoughtful plant placement and strategic hardscaping can help create defensible space while still supporting local wildlife. Use free resources such as California Native Plant Society’s Calscape Garden Planner to get started.

Step 1: Provide Food Sources

In the Bay Area we’re fortunate to have native plants that excel at this task. Plants such as California Coffeeberry produce berries that birds love, while other flowering plants such as California Lilac will attract beneficial insects and provide nectar for butterflies. To support a variety of species you should try layering your food sources. Ground-level seedheads, mid-height berries, and canopy fruits- all play a unique role in creating a thriving wildlife habitat in your backyard.

Step 2: Create Reliable Water Sources

In California, being mindful of water use is always a good idea. Birdbaths are a classic choice, but a recirculating fountain can be even better—it conserves water, keeps it moving (which birds love), and helps keep mosquitoes away. Ground-level water sources are also great for beneficial insects and small mammals, just be sure they’re shallow (no more than 2–3 inches) and have an easy way for small animals to climb out.

Step 3: Offer Cover and Shelter for Safety

Wildlife needs safe spaces to escape predators and harsh weather, and dense native shrubs offer excellent cover while requiring very little water. Moreover, if you have a dead tree that’s safely away from structures and not a hazard, consider keeping it—it can become a valuable home for birds and other wildlife. If you’re going for a more natural, rugged look, adding elements like a dry-stack natural stone wall or a few strategically placed rocks to frame a garden bed can create hidden nooks for lizards and beneficial insects.

Step 4: Provide Space for Nesting

Try placing nesting sites at different heights and orientations, making sure they’re sheltered from strong winds and the harsh afternoon sun. Beyond natural options like trees and shrubs, you might also consider adding nesting boxes designed for local species. Mason bee houses with removable, cleanable tubes are especially valuable in the Bay Area, supporting vital early-spring pollinators.

Recommended Products:

Getting Your Backyard Wildlife Habitat Certified

Once you have established the essential elements of food, water, shelter, and nesting sites in your Bay Area backyard, getting your wildlife habitat certified is straightforward. Start by documenting your habitat’s features with photos and a checklist of your native plant species. Then, visit the National Wildlife Federation’s website, where you can complete an online application and pay a small fee. You will then receive an official certification, along with the option to display a sign that celebrates your commitment to local wildlife.

Final Thoughts

Backyard wildlife habitats present a fantastic opportunity to boost both the visual appeal and ecological value of your home. They help attract beneficial insects, birds, and other wildlife while encouraging sustainable gardening practices.

At Lyngso, we offer everything you need to create a wildlife-friendly backyard that fits your style and budget, from natural stone to water features, high-quality gardening tools, and more. Visit our spacious showroom and landscaping yard in San Carlos for inspiration and advice, and contact us today to learn about delivery options for your SF Bay area home.