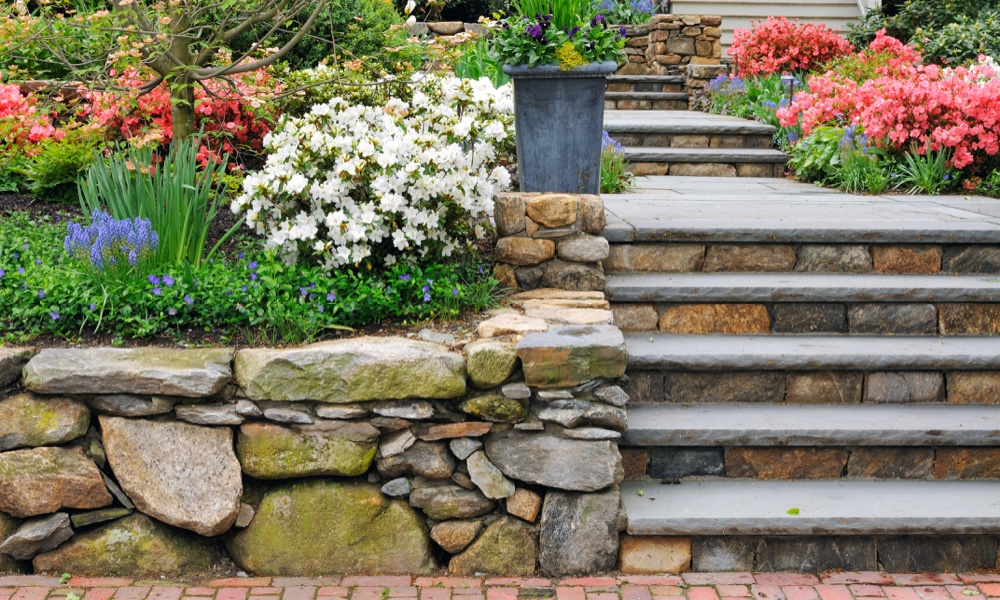
If you are considering adding a natural stone retaining wall to your landscaping project or backyard, you’ve come to the right place. In this article, we’ll show you how to build a beautiful and functional dry stack retaining wall to elevate your property and impress your guests. When you begin planning your Dry Stack Wall project, check with your town or city for height limitations that may require a building permit or engineering.
At Lyngso, we understand the challenges of selecting the right materials and tools for your landscaping project. Choosing the best natural stone for a dry stack retaining wall can be overwhelming, as it often depends on your area’s climate, soil conditions, and availability. In this article, we’ll recommend the best tools and materials for your project needs, whether your Californian property is located on a hillside or by the coast.
What Is the Best Natural Stone for a Retaining Wall?
When choosing the best natural stone for your dry stack retaining wall, the primary considerations are ease of installation, durability, aesthetics, and cost. In California, sandstone or argillite are particularly well-suited for retaining walls due to its aesthetics and availability.
One of our favorite hard sandstones is the Connecticut Bluestone Natural Edge Dry Stack, a classic East Coast stone that’s been used for centuries. Dating back to the 1800s, it is well known for its durability, resulting from the denser nature of this sandstone. The Connecticut Bluestone colors are elegant and timeless, ranging from blue-gray, green, with random surface colors of rust, gold, brown. Another option would be Chiefcliff or Bronze Dry Stack.
How Do You Build a Natural Stone Retaining Wall?
Step 1: Preparing Your Site and Materials
When your backyard or outdoor space has different elevation areas, a dry stack retaining wall is a fantastic solution to hold the soil in a stepped arrangement and prevent soil erosion due to stormwater runoff. Begin by clearing the area where the wall will be built and making sure you have the necessary tools and materials:
- The natural stone of your choice
- A square-point shovel
- ¾” Crushed Drain Rock
- String Line
- Rubber Mallet
- Pea-sized gravel
- Level and tape measure
- Hand Tamper
- Safety equipment of your choice

Step 2: Laying the Foundation
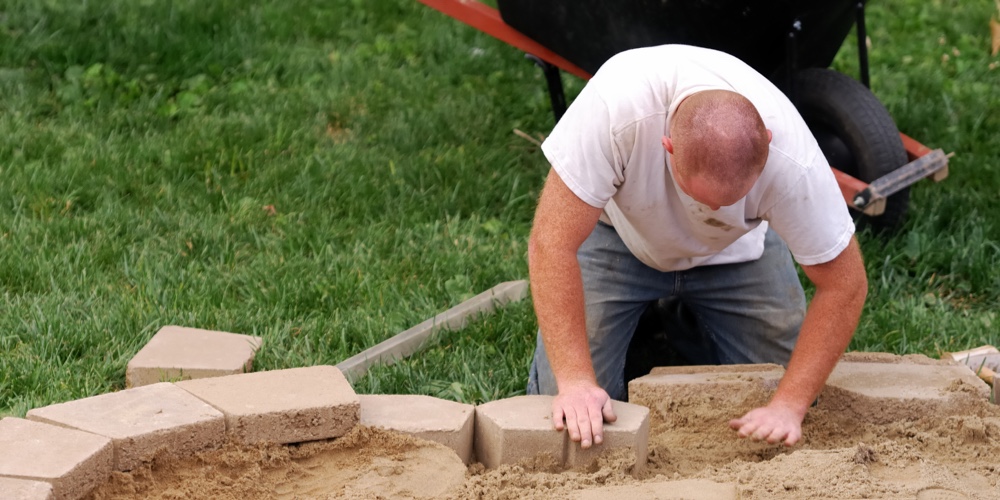
To lay the foundation, excavate a 6 to 8 inches deep trench at least as wide as the wall will be. Then add the ¾” Crushed Drain Rock and compact it until the base of the trench is level. Leave around 1/3 of the trench unfilled.
Our recommendation is this excellent ¾” Crushed Drain Rock. The shape and diameter of this gravel ensures a stable base and proper drainage, allowing stormwater to filter through without damaging the foundation’s structural integrity. Once this step is finished, lay the first course of the natural stone of your choice. Bury 1’ of the base course for every 8” of wall height. It’s crucial to ensure that this first course of natural stone is level before proceeding with the next steps as this will determine the integrity of the rest of your wall.
Step 3: Raising the Wall
Continue laying pieces of natural stone adding additional courses to the structure and build up the wall, careful to keep vertical joints from being directly over each other if possible. Consider using stones of different shapes and sizes so that they fit snugly together without leaving any gaps. Use thin chips to help stabilize a stone if necessary. These points are key for creating a durable wall that will last you for years.
Start building up by placing larger stones at the base of the next layer, alternating smaller and larger stones as you work your way up. Remember to use a level to ensure every layer is even, even if the foundation and base layers are already level. Your wall should have a batter of ¼” for each course to make it stable.
Step 4: Backfill As You Work Your Way Up
As you build the wall, backfill the area behind it with pea-sized gravel and compact it to provide additional support and stability. Depending on the soil in your area, you may also want to add a quality drainage fabric for better soil management. It’s crucial to backfill as you work your way up, and not all in one step. This helps the backfill to settle properly and prevents the wall from sinking or shifting later.
Using pea-sized gravel as a backfill has multiple advantages. Firstly, it helps hold back the soil and prevent soil erosion. Secondly, it provides ample drainage due to its permeable nature, preventing hydrostatic pressure from building up behind the wall, which can cause damage and reduce its lifespan. In most cases, around 12 inches of pea-sized gravel should be plenty. To backfill the rest of the space behind the wall, you can use the soil you excavated while digging the trench in step 2, but make sure to compact it.
Final Thoughts
With a wide range of tools, materials, and natural stone options available, Lyngso has everything you need to build a stunning retaining wall that suits your style and budget. Check out our on-demand class on DIY Stone Garden Beds to learn how to build a simple dry-stack stone wall for your raised garden bed. You can also visit our large showroom and landscaping yard in San Carlos for inspiration and guidance and contact us today to learn about delivery options for your SF Bay area home.


