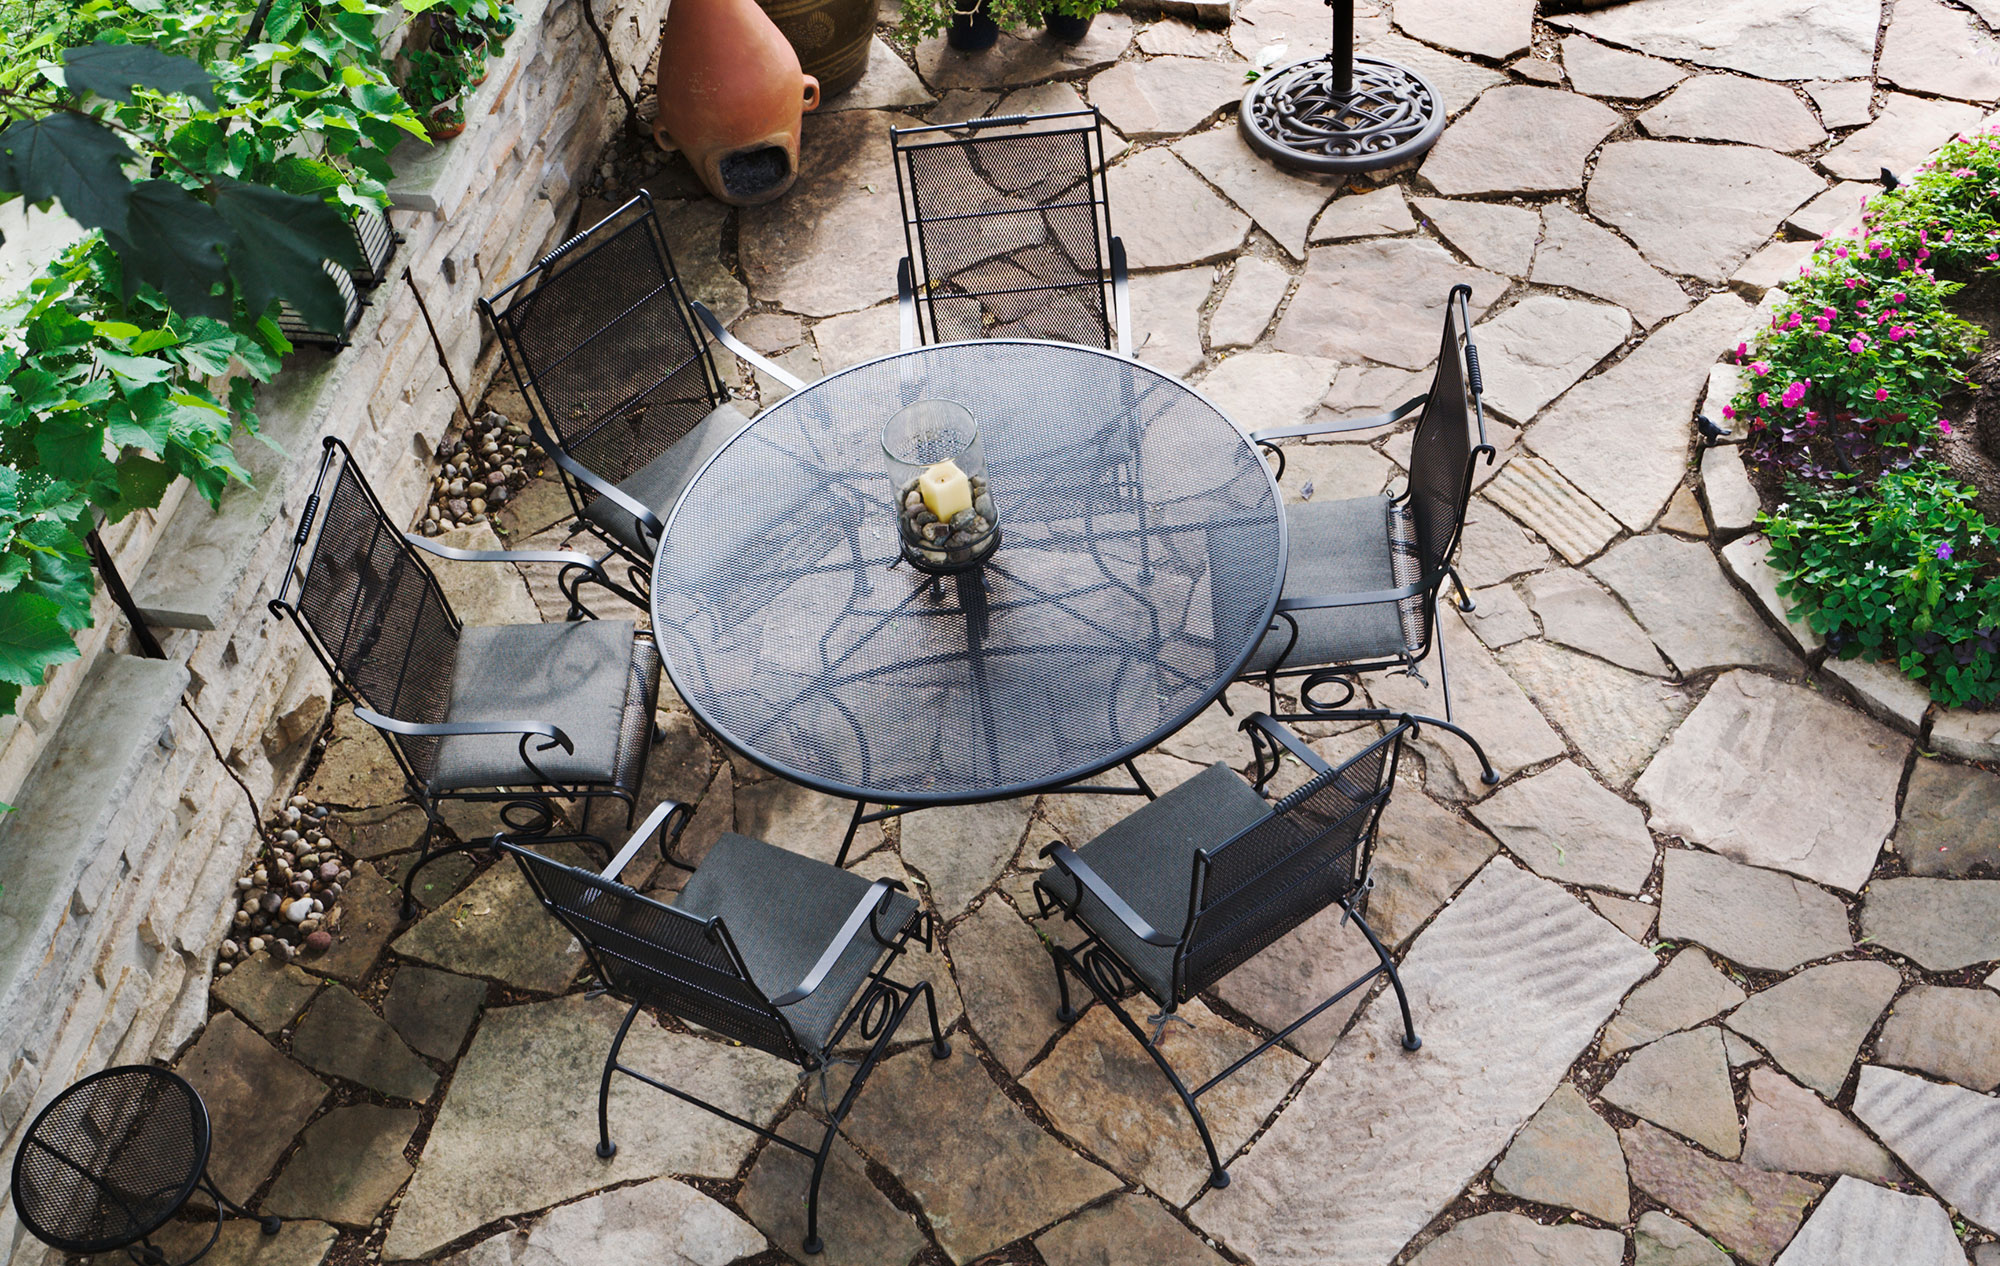
If you are looking to improve your outdoor space with an inviting area for relaxation or accommodating guests, a natural stone patio is a fantastic idea. However, DIYing a stone patio can feel intimidating even to seasoned landscapers. For this reason, we created this guide on how to make a natural stone patio with the dry-set method, which doesn’t require laying stone pavers on mortar or concrete. This method simplifies the construction of your do-it-yourself stone patio, turning it from an intimidating construction project into a fun challenge!
Choosing the Best Natural Stone for a DIY Stone Patio
Before we dive into the construction process, it’s necessary to determine which natural stone to use for your do-it-yourself patio project. We recommend selecting a stone that meets the following criteria:
- Durability: Select a stone that can withstand outdoor elements and is resistant to wear
- Weather resistance: Ensure the stone is a good fit for the Californian climate and can withstand temperature fluctuations
- Slip resistance: Choose a stone with a textured surface to reduce the risk of slips or falls
- Color and aesthetics: Choose a stone that matches your landscape design and aesthetic
- Size and shape: Natural stones available in your desired dimensions and shapes will reduce the need to cut and shape the stones during construction
- Cost & local availability: Choose a stone that works with your budget and is available in your local area
While the best natural stone for your DIY patio project will depend on your personal preferences, budget, and the overall aesthetic you want to achieve, here are some popular options in California:
Flagstone: Flagstone is popular due to its natural beauty and versatility. Flagstones come in various colors, including shades of brown, gray, and red. We recommend them for a rustic and textured look that brings charm to your outdoor space. If that sounds intriguing, we recommend checking out this striking patio-grade Mossback Flagstone.
Mossback Flagstone is a weathered surface sandstone with oxidized red-brown hues and spotted with moss and lichen. It ranges from 1 1/2″ to 2 1/2″ thick and from 1 to 2 square feet per piece.
Sandstone: Sandstone is a durable and affordable option for a DIY stone patio. For example, Arizona Sandstone comes in various colors and provides a warm, natural appearance suitable for traditional and contemporary patio designs.
One of our favorite denser sandstones is the gorgeous Connecticut Bluestone, a classic East Coast paving stone that’s been used for centuries, dating back to the 1800s. This metamorphic sandstone ranges in blue-gray, green, and lilac colors with random surface colors of rust, gold, brown, and gunmetal.
How to Build a Flagstone Patio Yourself Step-by-step:
Step 1: Sourcing the Necessary Tools and Materials
When embarking on a DIY landscaping project, having the right tools and equipment is essential for a successful outcome.
For building a natural stone patio, you will need the following tools: a shovel, rake, level, and the safety equipment of your choice. A wheelbarrow will also come in handy for transporting heavy stones and hauling away debris. You may also need a few masonry or hand tools, such as a chisel and a hammer, for shaping the stones. Lastly, a compactor or a hand tamper is essential for compacting the base materials and providing a stable foundation.

Regarding landscaping materials, apart from the natural stone of your choice, you will need compacted base rock, setting sand, and decorative gravel or decomposed granite for the joints.
Step 2: Planning Phase
Before you begin construction, it’s crucial to outline the location and size of your desired patio. Consider factors such as sunlight exposure, accessibility, and drainage. Once you have decided on the site, measure the area to estimate the amount of flagstone, baserock, gravel and other materials you will need for your project.
Typically, most flagstones will have a coverage of 100 square feet per one ton. Baserock will cover about 240 square feet per ton at 1” depth. Decorative Gravel and/or Decomposed Granite will vary depending on the joint size.
Step 3: Preparing the Site
To prepare the site, start by marking the outline of your patio using stakes and string. Then proceed with clearing the area of any vegetation, rocks, or debris.
Once the site is cleared, you can excavate the area to a suitable depth. As a rule of thumb, excavate the soil to around 4 to 6 inches plus the thickness of your chosen natural stone. By excavating to the proper depth, you provide a solid foundation for your patio and ensure it remains level and stable for years to come.
Pro tip: Make sure to level the flagstone to other hardscape surfaces like existing concrete or pathways so it does not sit above or below the existing grade.
Step 4: Building the Base
Building a solid and stable base is crucial when constructing a flagstone patio. The baserock provides the necessary support for the stones and ensures the long-term durability of the structure.
For a dry-set or sand-set installation, which we recommend for DIYers, begin by adding a 2”-4” layer of Class II Base Rock and compacting it well with a compactor, roller or a hand tamper. This layer will provide stability and support drainage. Before moving on to the next step, ensuring the base is level and well-compacted is crucial. Next, spread a layer of either setting sand or stone dust (decomposed granite) over the base rock. The sand or decomposed granite will act as a leveling agent, allowing the flagstones to settle evenly. Do not compact the setting send as this needs to remain loose.
Step 5: Laying the Stones
Once the base is ready, it’s time to start laying the flagstones. Start from one corner and carefully place the stones according to your design moving inwards. You can use a rubber mallet to tap them gently into place, making any necessary adjustments to keep them level and maintain a uniform surface. As you lay the stones, leave a consistent gap between them, which will be filled later.

Step 6: Filing the Gaps
After laying the stones for your DIY natural stone patio, you must fill the gaps between them. This step isn’t only important for aesthetics but also for providing structural stability and ensuring the longevity of your patio.
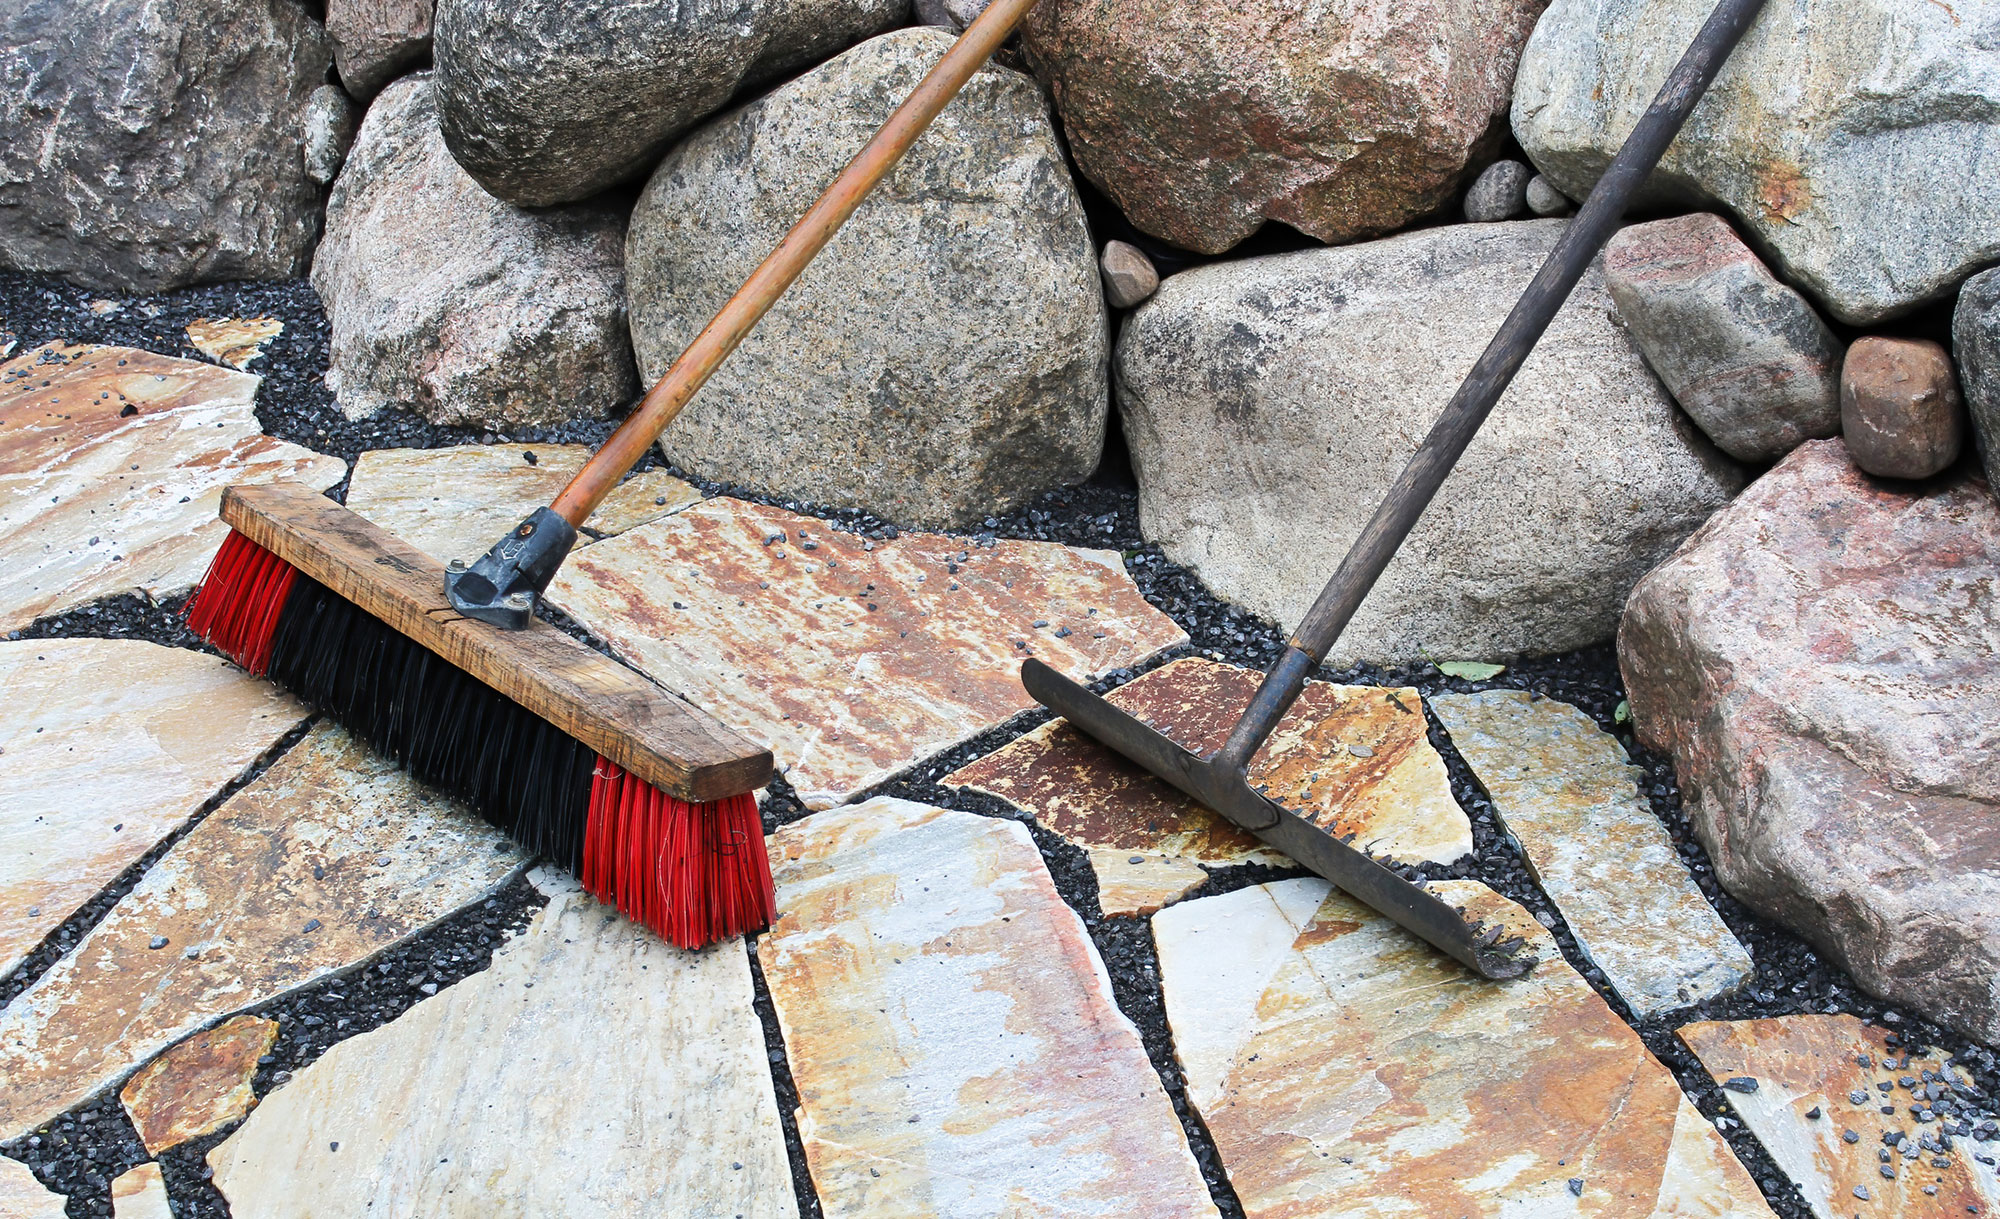
To fill the gaps between the stones, use sand or stone dust and a broom to sweep it into the crevices. Spray the patio with a garden hose to settle the fill material, then sweep more filler across the stones to fill any remaining gaps. The fine particles in the filler material will lock the stones in place and prevent them from shifting over time.
Step 7: Finishing Touches & Maintenance
Once the stones are in place and the gaps are filled, it’s time to focus on the details that will enhance the aesthetics and functionality of your patio. Consider incorporating decorative elements or border stones to create a more polished look.
Also, remember that regular maintenance is critical for the longevity of your new natural stone patio. Implementing a simple maintenance routine, such as sweeping off debris, and sealing the stones periodically, can go a long way toward keeping your new stone patio like new for years to come.
Final Thoughts
With a wide range of tools, materials, and natural stone options, Lyngso has everything you need to build a stunning natural stone patio that suits your style and budget. Visit our large showroom and landscaping yard in San Carlos for inspiration and guidance, and contact us today to learn about delivery options for your SF Bay area home.


