Because it’s Simple to Build with and Easy to Maintain!
Like its name suggests, the best part about using drystack stone for a retaining wall or fireplace is that you can build it without using any mortar. In fact, you could also grow plants and shrubs in the crevices of your drystack retaining wall, making it a picturesque addition to your overall landscape. The experts at Lyngso Garden Materials offer a simple, step-by-step process for using drystack stone in your yard or even indoors.
Steps for Building with Drystack Stone
Building a retaining wall, outdoor sculpture, water feature, fire pit, or an outdoor or indoor fireplace? No matter where you use drystack stone, this material can lend a rustic, yet eclectic appeal to your home’s exterior and interiors.
Here are the steps for using drystack stone for building retaining walls that prevent soil erosion in your landscape.
1. Gather your tools and materials: Estimate the amount of drystack stone you need by multiplying the length, depth and height of the structure you intend to build. For example, if you want your wall to be 2 feet high, 1.5 feet deep, and 20 feet long, you will require 2 X 1.5 X 20, i.e. 60 cubic feet of drystack. In addition to the stone, you’ll need to gather all the basic tools:
- Shovel: for digging the trench and backfilling
- Mattock: for chopping through the grade
- Small sledgehammer: for tamping the soil
- Tall stakes and string: for marking the site
- Line level: for leveling the stones
2. Use the right digging method: Mark out the front face of your wall and start digging, ideally through a cut-and-fill approach. However, for aesthetic reasons, you may look at a partial-cut-and-fill approach, or build a freestanding wall, and add soil from another site to fill behind it.
3. Build your wall in courses: For better structural integrity, make your wall around 20 inches thick at the base. While you may taper it towards the top, make sure that it is at least 2 rocks wide in most places. Keep building up the courses until you reach the desired height.
4. Choose your drystack stones wisely: Take time to choose the rocks that lock into place with minimal gaps. Building a systematic first course will solidify the rest of your wall. As a rule of thumb, try to place the stone in seven different ways. If by the seventh try it does not fit that position well, then use another stone.
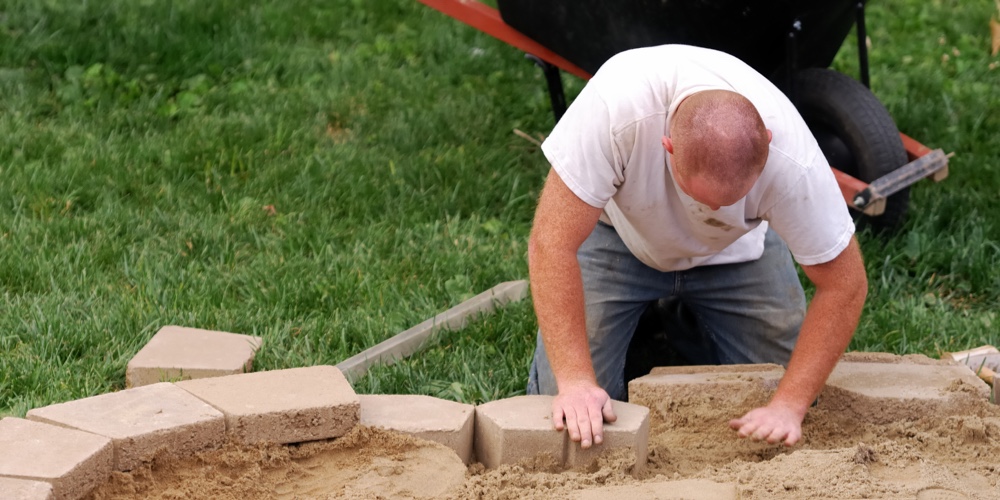
5. Set the stones: When you lay out and stack up the drystack stones, shovel the dirt behind them at the end of each course. Next, tamp the earth into the gaps between, beneath and behind the stones with the top of your sledgehammer. At the end of each course, test the structure by walking over it gently to check that the stones do not roll out beneath your weight.
6. Level and test your wall: Ideally let your retaining wall be at least 18 to 22 inches tall. While adding and leveling the final layer of the capstone, use 1 to 3 stones, and ensure that your top layer is about 15 to 18 inches deep.
Buy Drystack Stones and Building Tools at Lyngso Garden Materials
Whether you plan to use the retaining wall for sitting, or planting herbs and shrubs, follow a methodical approach while using drystack. For further advice on the supplies or building process, don’t hesitate to contact the knowledgeable team at Lyngso Garden Materials. We stock an extensive range of drystack stones and wall rocks in several colors, styles and finishes.
As experts in gardening supplies and landscaping materials, we have been serving customers across the San Francisco Bay Area for over 60 years.
Need drystack to build walls or fireplaces? Explore the wide selection of stones at Lyngso Garden Materials. Call us at 650-364-1730 or visit our store today.